
As many experienced gardeners are aware, planting wildflower seed is a relatively simple task; but it is not completely effortless. Like any worthwhile gardening project, the more time and effort that you are willing and able to allot to proper preparation, the more successful the results are likely to be.
The following steps are designed to assist the wildflower gardener in establishing a flower meadow that will impress and inspire for years to come.
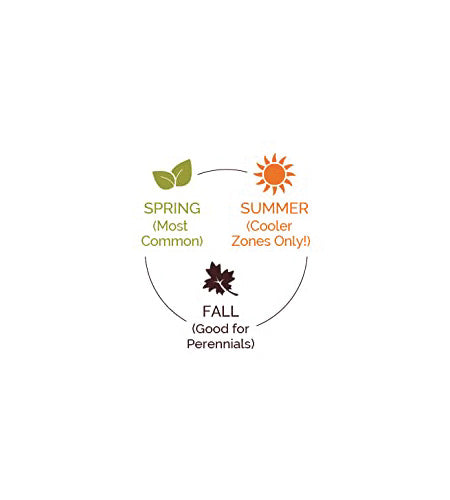
STEP 1 - CHOOSE YOUR SEASON
SPRING PLANTING: For most temperate regions of the US, spring planting is best carried out within a month or so after the final frost of the winter season. The exact date will vary based on your region and the severity of the winter season. Be careful to NOT plant too early; if seeds are installed prior to a late-season frost, they will be lost for the season and will need to be re-seeded.
SUMMER PLANTING: Summer planting is advisable for cooler areas where temperatures don’t hover at 80 degrees or more for long periods of time.
FALL PLANTING: Though it may seem unusual to plant flower seeds in fall, it's actually the preferred time of year for many seasoned wildflower gardeners. The primary benefit: a jump-start in blooms the following spring! If you decide to plant seeds in fall, the trick is to do so after the first killing frost of the season.
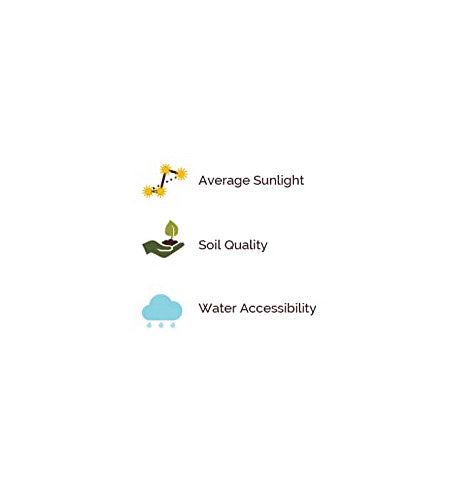
STEP 2 - CHOOSE YOUR SITE
AVERAGE SUNLIGHT: Most wildflowers prefer full sun. Some wildflowers will tolerate some filtered shade (and a few actually thrive in it), but the vast majority are sun-lovers and will present the best blooms where sun exposure is greatest.
SOIL QUALITY: Wildflowers will sprout in all but the most difficult conditions. Pampering your site with fertilizer or rich sod is not necessary. In fact, doing so can sometimes achieve the opposite result by inviting unwanted weeds and grasses. The use of an accelerant is only advisable in the poorest conditions where the soil is sterile.
WATER ACCESSIBILITY: A steady watering source is helpful but not always necessary. In most regions natural rainfall will be sufficient. If you live in an arid region, are planting during drier months, or are experiencing prolonged drought, you should water your site about every other day for the first few weeks after planting until root growth is established.
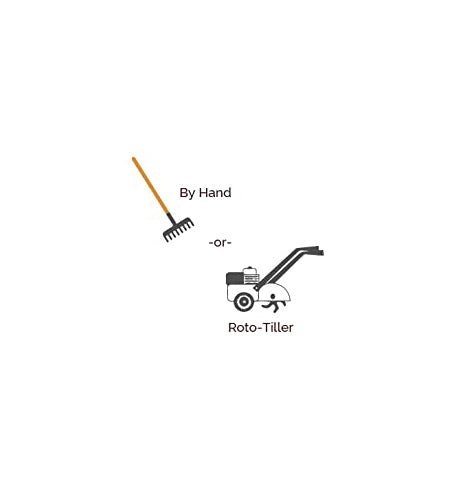
STEP 3 - DETERMINE COVERAGE & PREPARE THE SOIL
DETERMINE COVERAGE: We generally recommend one standard seeding rate for all wildflower mixtures. See our recommended coverage chart below.
PREPARE THE SOIL: This is an absolutely vital step in the installation of any successful wildflower seed project. Though it may sound tempting to randomly cast your seeds into thin air and hope they will sprout, it is simply a waste of time and money to do so on a site that has not been properly prepared for planting. Though wildflower seeds are tenacious by nature—and a few might even persevere under the most inhospitable of circumstances—they, like all seeds, will perform best when rid of noxious weeds and grasses. Prepare your soil by hand or with a roto-tiller for larger jobs. Regardless of what tool or machine is used, the important thing to remember is to remove as much growth as possible. The looser your soil, the better the environment for seeds to thrive. Keep in mind these are “wild” flowers, not roses, and there will be some natural competition from weeds and grasses. The bottom line: work the soil as best you can, but don’t panic when some weeds sprout along with the flowers!
Wildflower Coverage Chart
| Amount | Recommended Coverage | For the Geometrically Challenged |
|---|---|---|
| 1/4 Pound | 250 - 500 Sq. Ft. | A Living Room |
| 1 Pound | 500 - 1,000 Sq. Ft. | A Surburban Front Yard |
| 5 Pounds | 5,000 - 10,000 Sq. Ft | Up to about 1/4 Acre |
| 10 Pounds | 10,000 - 20,000 Sq. Ft | Up to about 1/2 Acre |
| 25 Pounds | 25,000 - 50,000 Sq. Ft | An Ample Coverage of 1 Acre |
| 50 Pounds | 50,000 - 100,000 Sq. Ft | An Ample Coverage of 2 Acres |
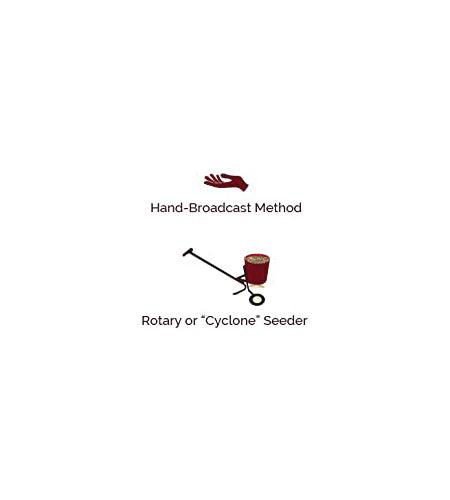
STEP 4 - SOW THE SEED
So now you’ve got some sweat on your brow and you’re ready to plant! We recommend mixing your seed with regular “sand box” sand at a ratio of about 5 parts (sand) to 1 part (seed). This allows for an even distribution and provides a convenient way to mark which portions of the site have been seeded and which have not. While not a required method for successful planting, this step is simple, affordable, and practical.
1) The Hand-Broadcast Method (for smaller jobs). Simply scatter the seeds evenly over the site by hand.
2) The Rotary or “Cyclone” Seeder (for larger jobs). This method accomplishes the same results by using a hand-cranked spreader. Contact your local garden center for options.
After sowing, lightly compress your seeds into the soil no more than a ½ inch. This easy task will protect the seeds from birds, wind disbursement, and other environmental hazards. The key here is to compress them, but not bury them. If the site is a manageable size, you can accomplish this by simply walking over the portion that’s just been seeded. If it’s a larger area, you a standard seed roller is useful.